 Motomaxsfr
Search Product
How To Change Brake Caliper Motorcycle
To replace the brake calipers, you have to stabilize the car body first and prepare a container for receiving waste oil. After all, brake fluid is extremely corrosive and dripping on the paint surface is a disaster. The basic process is: first loosen the tubing bolt, remove the fixing bolt, and remove the old caliper from the front fork. When installing new calipers, remember to replace new copper gaskets, which is the key to prevent high-pressure oil leakage. It is also the most patient testing link-exhaust. Only when the air in the pipeline is drained clean and the hand feels hard can the job be qualified. Finally, be sure to use a torque wrench to review, don’t feel blind twist, this is life-saving things. Whether you want to upgrade your braking performance or replace the old caliper piston with a new one, it is safest to follow the rules. Next, I will disassemble the specific practical steps.
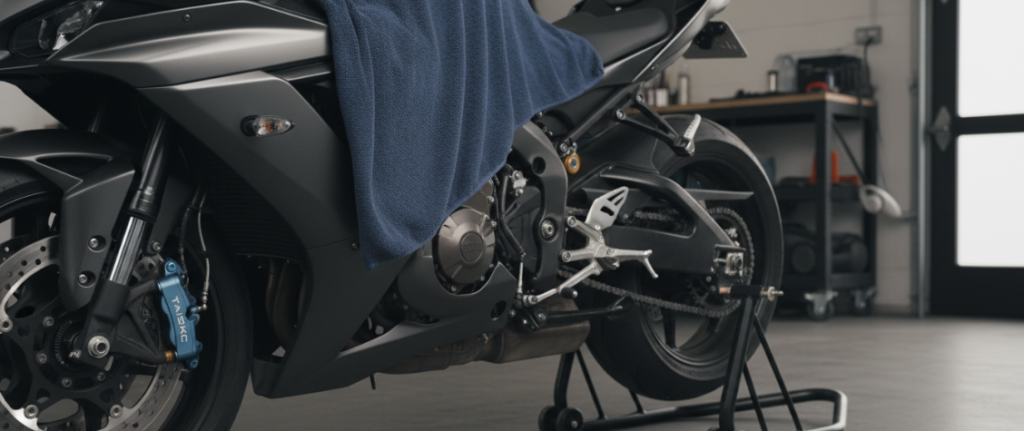
Preparation And Safety Protection
It is best to use a frame (paddock stand) or a large brace to fix the car vertically. It is not only inconvenient to work with the car tilted, but also easy to spill brake fluid. Here I have to remind the one sentence: brake fluid has a strong lethality to the paint surface and plastic parts of motorcycles, and a little sticking can make the paint surface blister. Therefore, before construction, be sure to use thick towels or plastic film to cover the fuel tank and mudguard tightly. Prepare more brake cleaner and oil receiving basin, and don’t wait for the oil to flow all over the floor before looking for rags.
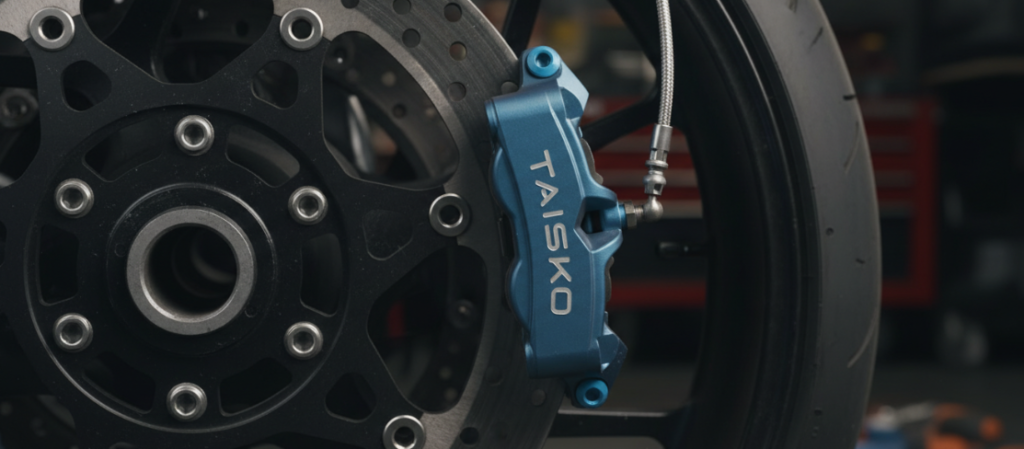
Remove The Old Caliper
The first step in disassembly is to deal with the hydraulic connection. Here’s a trick: while the caliper is still firmly fixed on the front fork, use a sleeve to loosen the tubing bolt. And the caliper seat is stressed, so you can exert your strength better. Just loosen and destroy the sealing pressure. Don’t screw it down completely now, or oil will flow everywhere. Next, unscrew the mounting bolts that secure the caliper to the front fork or rear rocker arm. After the bolt is removed, gently shake the caliper to slide it out of the brake disc. At this time, the bolts of the oil pipe shall be completely unscrewed, and the end of the old oil pipe shall be directly plugged into the oil receiving container to drain the oil.
Install New Calipers
When installing new calipers, “clean” is the first criterion. Put the new caliper into the brake disc and see if the brake pads are honestly straddling the disc. Screw the mounting bolts in by hand, and never use electric tools when coming up. In case the threads are not aligned and forced in, the shock-absorbing base will be useless. Old technician said that must be replaced with new copper gasket. Don’t reuse old gaskets to save a few dollars. The design principle of copper gasket is to seal by extrusion deformation, and it will harden and fail once used. Put a new gasket on each side of the tubing joint and screw the bolt into the new caliper. This is the only way to ensure no oil leakage under high pressure braking.
Brake System Exhaust
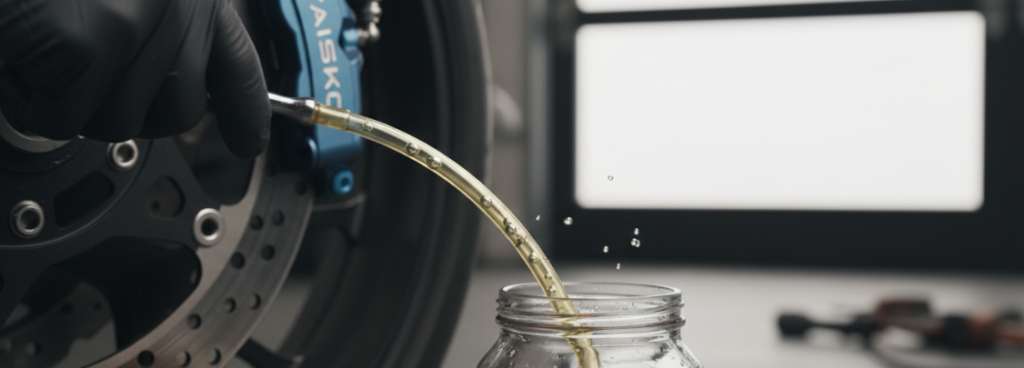
The hardware is installed, but now the pipe is full of air. Air can be compressed. If you pinch the brake now, it will feel like cotton. There is no braking force at all. Fill brake fluid: open the upper pump oil cup and fill it with fresh brake fluid (watch the instructions, DOT 4 or DOT 5, don’t mix). Pinch and hold: Pinch the brake lever several times, then hold it tightly and don’t let go. Open the valve to bleed: while holding the pull rod, slightly unscrew the exhaust valve on the caliper. You’ll see air bubbles follow the old oil coming out along the transparent hose. Turn off the valve and then let go: the point is that the exhaust valve must be closed “before” releasing the brake lever, otherwise the air will be sucked back along the valve. Cycle: Repeat this process until there is no bubble in the outflow of oil and the feel of the brake lever feedback is very solid.
Final Torque Review And Inspection
On the brake system, never trust your “feel”. Take the torque wrench and tighten the mounting bolts and tubing bolts in strict accordance with the values (Nm or ft-lbs) in the maintenance manual. The reason for being so rigid is to avoid two extreme risks: Loose: If you don’t tighten it, the vibration during riding may cause the bolt to fall off, and the caliper flying out is no joke. Shear: Tightening too tightly will cause the bolt to stretch or even break directly, causing catastrophic consequences. After all the screws are tightened, spray all oil traces near the brake discs and calipers with brake cleaning agent. Before leaving for the road, try the car in the yard a few times at low speed. Make sure that the braking response is no problem, and this single job will be completely completed.
Author:Mark Thompson
“Hi, I’m a certified motorcycle technician with over 12 years of hands-on experience in the workshop, I’ve performed countless brake system overhauls on everything from street bikes to track-ready machines.”
The prev: What Are Sprockets Used For
Related recommendations
-

How To Check Your Motorcycle Chain
184Learn How To Check Your Motorcycle Chain. Verify Tension (20-30mm), Spot Kinks, And Test Sprocket Wear In 3 Easy Steps.
View details -
What Are Motorcycle Sprockets
323What Are Motorcycle Sprockets? Discover How These Components Transfer Power, Act As Torque Amplifiers, And Tune Your Bike’s Speed.
View details -
When To Replace Motorcycle Chain
260Learn The Key Signs Of Motorcycle Chain Wear, From The Pull Test To Hooked Sprockets. Know Exactly When To Replace Yours.
View details -
How Long Do Motorcycle Chains Last
317Learn How Long Motorcycle Chains Last And Essential Tips For Extending The Life Of Your Motorcycle Chain And Sprockets.
View details


