 Motomaxsfr
Search Product
Motorcycle Chain Replacement: The Complete Guide
In motorcycle maintenance, many people pay attention to oil, brakes, and tires, but often ignore a key component-the Motorcycle Chain. In fact, Motorcycle Chain Replacement is the core link that affects vehicle power transmission and riding safety. A healthy chain can make your car accelerate more smoothly, lower fuel consumption, and ride more at ease; and a severely worn chain may become a safety hazard at any time. This guide will take you to understand the causes of chain wear, judge the timing of replacement, and how to complete the maintenance and replacement of motorcycle chain step by step, so that you can have more confidence in hands-on maintenance and ride more confidently.
Why is Motorcycle Chain Replacement Important?

Causes of wear:
Chain wear is the inevitable result of mechanical friction and stress fatigue. The small particles of dust and gravel are constantly consuming the metal surface like abrasives between the high-speed chain and the toothed disc. Coupled with the strong torque of the engine for a long time, the pin shaft and the sleeve inside the chain will gradually wear out, resulting in a gap. Over time, the chain is “elongated. Of course, this is not that the metal is really stretched, but that these tiny gaps accumulate, causing the total length of the chain to increase.
Signs of wear:
Be sure to get into the habit of checking the chain regularly. Some signs of wear are so obvious that you can notice them with a little attention:
- The link gap is too large: this is the most common. Pull the middle part of the chain by hand. If the chain can be pulled up from the rear tooth plate to expose half or one tooth tip of the tooth plate, then the chain is “loose” badly.
- O-ring/X-ring damage: take a closer look at the sealing rings on both sides of the chain link. If they crack, fall off or simply disappear, it will be in trouble. These sealing rings are used to keep the grease inside the chain. Once damaged, sand, dust and moisture will invade and accelerate internal wear.
- Chain “stretch”: the actual pin and sleeve wear. You can measure the length of 20 links with a ruler. If it exceeds the standard value, you should consider replacing it.
- Toothed/hooked: When the chain wears, the toothed disc also wears. If you find that the tooth tip of the toothed disc has become very sharp, or even bent backward like a hawk, it means that the chain and the toothed disc have been seriously mismatched and must be replaced together. Sometimes, if the light chain does not change the toothed disc, the new chain will soon be worn out by the old toothed disc.
Hazards:
You may think that it is no big deal for the chain to loosen and wear a little. Big mistake! The harm caused by the chain problem is no joke:
Decreased power transmission efficiency: loose chains will cause power loss, which directly affects acceleration performance and fuel economy.
- Abnormal sound: The worn chain will make obvious metal friction sound or abnormal sound when running.
- Off-chain: This is one of the most dangerous situations. When driving at high speed, the chain is off. In the slightest, the rear wheel will be stuck and the vehicle will lose control. In the worst case, it may be involved in the wheel hub or rocker arm, which directly causes a serious accident.
- Damage to the engine or rocker arm: If the chain suddenly breaks or falls off during high-speed operation, it may be thrown out at high speed and hit the engine housing or rocker arm, causing expensive maintenance costs.
- Impact on driving safety: the above points, the chain is not in good condition, is undoubtedly to your riding safety buried hidden dangers.
When to Replace Motorcycle Chain:
So, in the end when to change the chain? There is no absolute number, need comprehensive judgment:
- Mileage: Most of the original chain under normal maintenance, life between 20000 and 40000 kilometers. But the specific mileage still depends on the quality of the chain and your riding habits.
- Use environment: If you often ride in a dusty and muddy environment, the wear of the chain will accelerate, and the replacement cycle will naturally be shortened.
- Daily inspection results: this is the most important! According to the signs of wear mentioned above, check regularly.
- Once a problem is found, don’t hes itate to replace it in time. My suggestion is to take a few minutes to observe the chain every time you wash the car or do maintenance.
What do you need before replacing the chain?
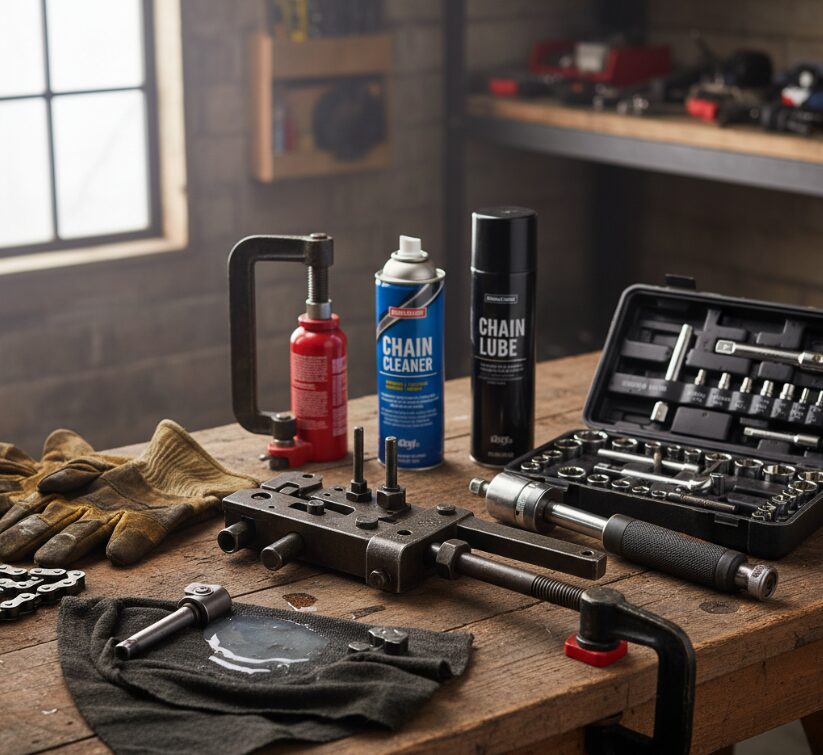
TOOLS LIST
- Chain Cutter/Riveting Tool: This is the core tool that must be invested in a set of good quality. I personally prefer models with clear instructions and stable structures. Remember, different chain sizes may require different specifications of the cutter, be sure to check when buying. Poor quality tools may cause deformation of the rivets or damage to the chain.
- Torque wrench: absolutely can not be missing! Many screws have specific torque requirements, especially when it comes to vehicle safety. I usually prepare a large torque and a small torque to make sure to cover all needs. This thing can let you know when tightening the screw, avoid too tight or too loose.
- Socket wrench set, open-end wrench, adjustable wrench: conventional tools, covering various sizes. Make sure you have a common 8mm to 19mm wrench in your toolbox, especially the rear axle nut usually requires a large size sleeve.
- C- clip, hammer: C- clip in the removal of the old chain will occasionally come in handy, auxiliary fixed.
- Jack or repair rack: replace the chain must let the rear wheel off the ground, repair rack is the most convenient choice. If there is really no, the jack should pay special attention to the support stability of the vehicle, safety first.
- Old cloth, cleaning agent, lubricant: the old cloth is used to wipe oil and debris, cleaning agent is used to clean the old chain residual oil and new chain before installation. The lubricant is of course the first lubrication of the chain after installation.
- Personal experience sharing: I usually prepare an extra oil absorption cloth and a pair of non-slip gloves. Details determine success or failure. Gloves not only protect your hands, but also provide better grip. Furthermore, a well-lit work area is also necessary.
List of required parts
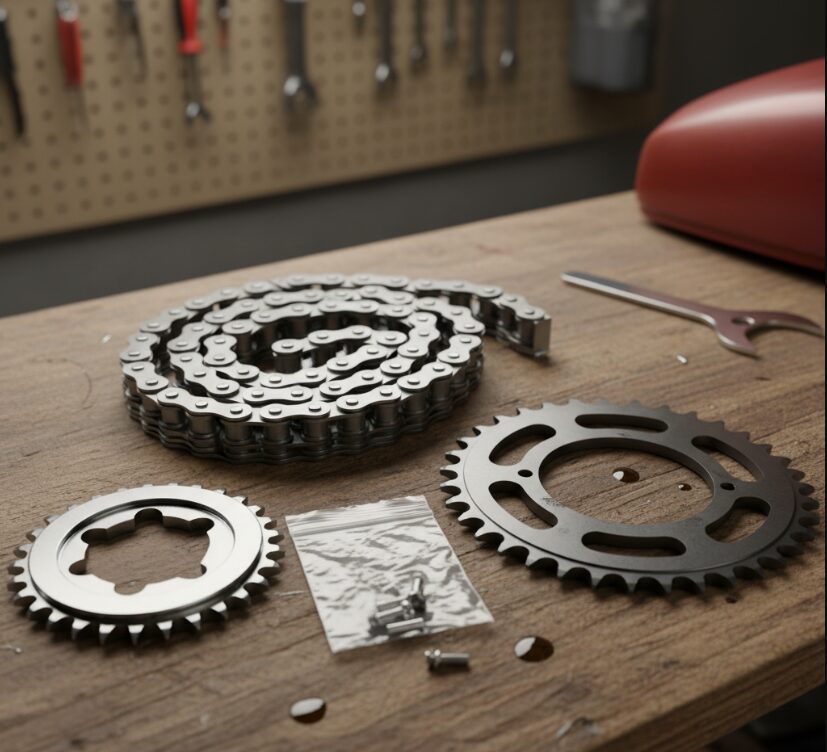
- New chain: the choice of brand, model and size is very important. I always emphasize to match the specifications of the original chain, or upgrade to a higher-level chain according to your riding needs. For example, if you are a heavy cyclist, you may need an O-ring or X-ring chain, which has better durability. Don’t forget to check the number of links to make sure the length is right.
- New front and rear toothed discs: It is strongly recommended that the chain and toothed disc be replaced together. After a long time of running-in, the wear patterns of the old chain and the old toothed disc are compatible with each other. If you only replace the new chain, the wear of the old chainring will accelerate the wear of the new chain, and vice versa. This is like replacing an old engine with a new piston, but the cylinder wall has worn out, and the effect is definitely not good. At the same time, replacement allows them to run in from scratch, maximizing service life and transmission efficiency.
- Chain rivets: usually shipped with new chains. Check whether it matches your chain. The quality of the rivet is also very important. It is the last line of defense to connect the chain.
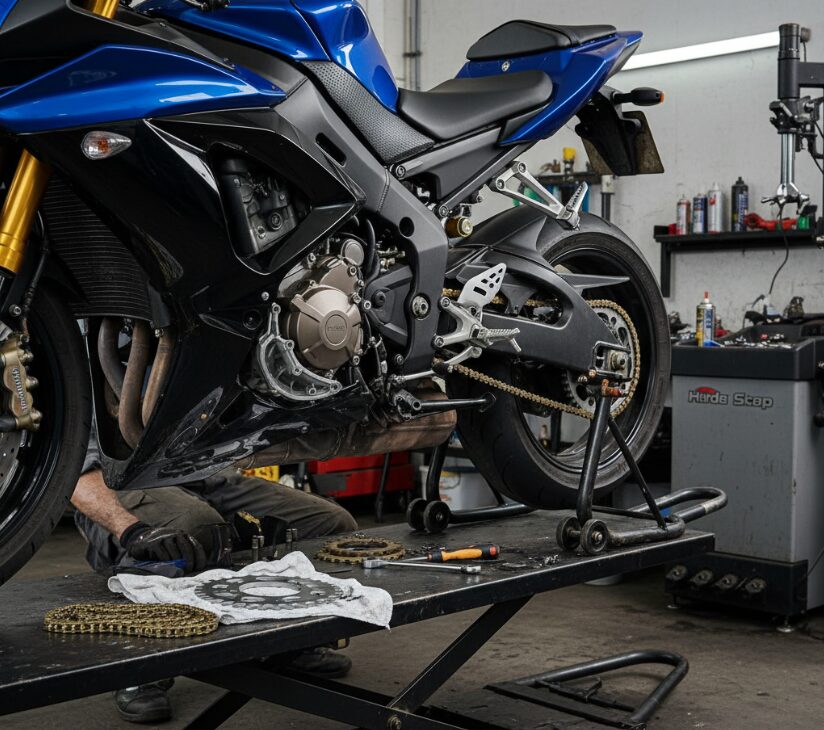
Step-by-Step Motorcycle Chain Replacement Guide
1. Preparation and fixing:
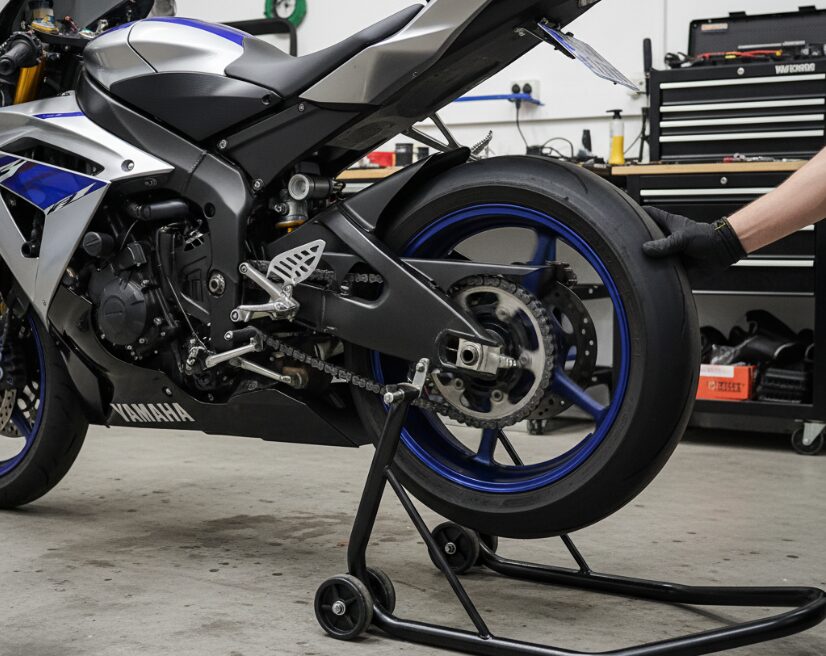
First, prepare a sturdy parking or maintenance rack to support the motorcycle to ensure that the rear wheels can be completely off the ground and can rotate smoothly. Personally, I prefer to use the rocker arm frame that lifts the rear wheels, which feels more secure.
2. Remove the front chainring cover:

Remove the shift lever first, and then remove the protective cover of the front gear plate. Remember, torque is very important when reinstalling these screws! Don’t twist by hand, check the manual if you should.
3. Loosen the rear axle nut:
In this step, you only need to loosen the big nut of the rear axle and let it be in an adjustable state, without completely removing it. The purpose is to easily move the rear wheels back and forth to make room for the new chain.
4. Remove the old chain:
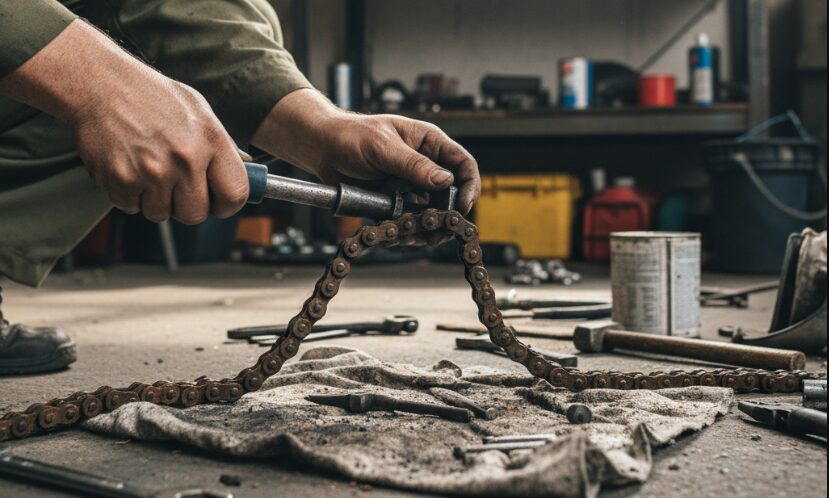
Carefully find out if there is a joint on the chain, that is, the joint with a circlip. If so, congratulations, it will be much easier to dismantle. If not, you need a chain cutter to cut it off somewhere. I personally feel that the truncator is an essential tool, saving time and effort.
5. Replace the front and rear gear discs:
Knock on the blackboard! This is an often overlooked but extremely important link. My experience tells me that it is best to replace the chain, front gear plate and rear gear plate at the same 3. The wear of the old toothed disc will accelerate the wear of the new chain, and the loss outweighs the gain. When replacing, also pay attention to the torque of the screw. Don’t underestimate these numbers, they are related to your riding safety.
6. Install new chain:
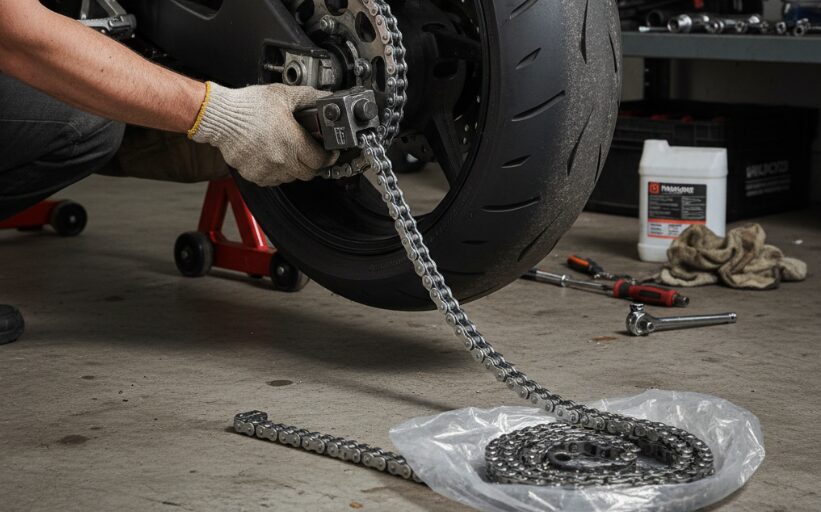
Put the new chain under the rocker arm, through the chain guide block, around the front and rear toothed discs. Then, connect the two ends of the chain with new joints. Make sure that the O-rings or X-rings of the joints are in place, which is the key to sealing.
7. Riveting new chain:

This is the most technical step in the whole process, and it is also the key to determine whether the chain is safe. Using a professional chain riveting tool, press the rivet head of the hinge in correctly and turn up. The quality of riveting is directly related to the strength of the chain and the safety of your life. I have seen too many cases of chain breakage caused by improper riveting, so please be careful in this step. If you are not sure, you would rather watch the teaching video several times.
8. Adjust the tightness of the chain:
According to the requirements of your motorcycle maintenance manual, adjust the sag of the chain accurately. This is usually the gap created by pushing the chain up and down in the middle of the chain. Too tight or too loose chains are hidden dangers. Too tight will increase the burden on the gear disc and gearbox bearings, and too loose will easily unchain and even damage the rocker arm. I usually adjust it a few more times to make sure it’s foolproof.
9. Align rear wheels:

Using the scale on the rocker arm or a special tool, ensure that the rear wheel is fully aligned with the frame. If the rear wheel is not correct, it will not only affect the handling, but also cause eccentric wear of the chain and tires, shortening their service life. I usually use calipers to assist in the measurement to ensure that the adjusters on the left and right sides are in the same position.
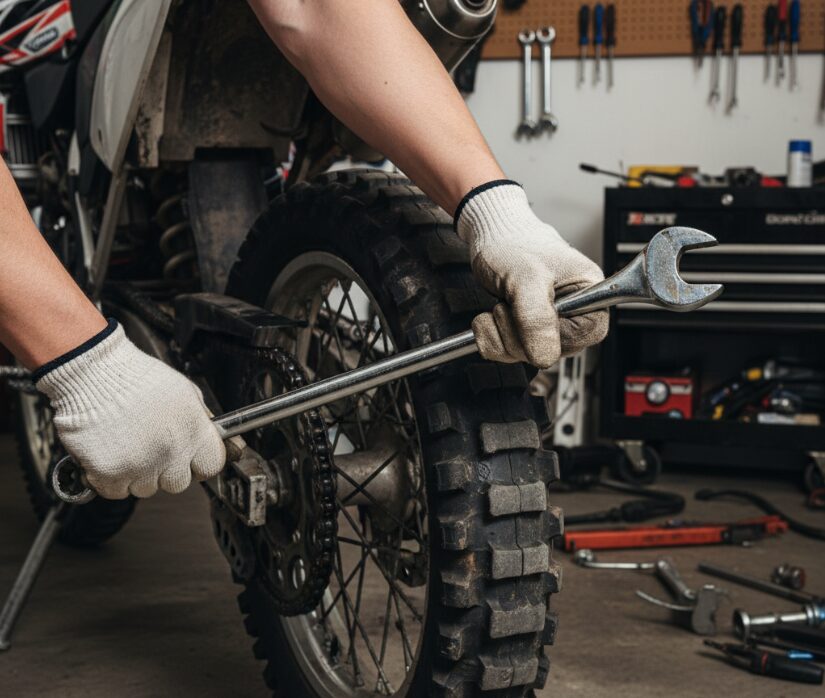
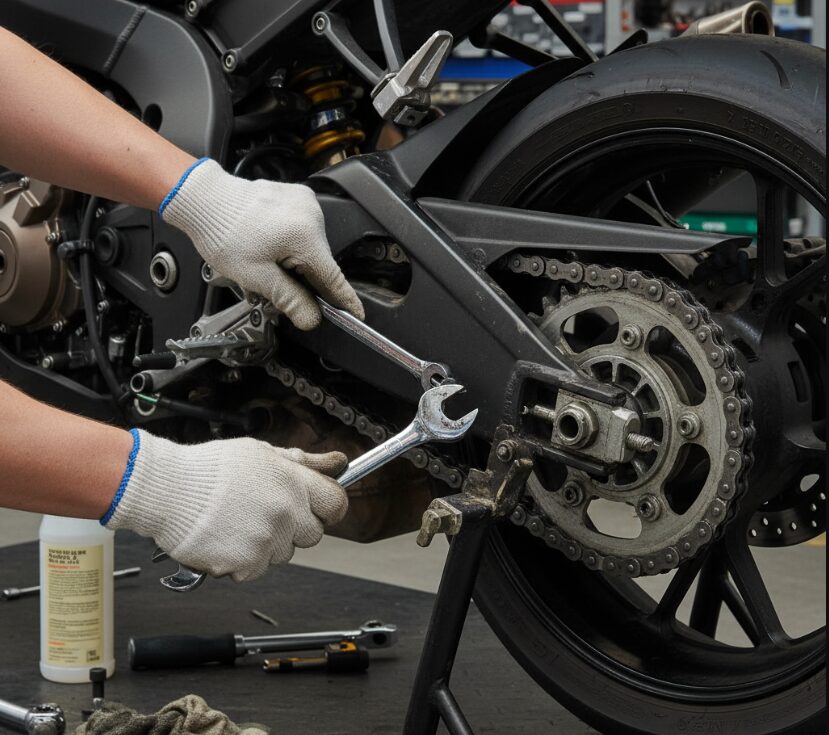
10. Tighten all nuts:

Using a torque wrench, tighten the rear axle nut, the front chainring screw (if removed), the chain adjustment nut, and all previously removed screws in sequence to the torque specified in the maintenance manual. Again, torque is critical.
11. Initial Inspection and Lubrication:
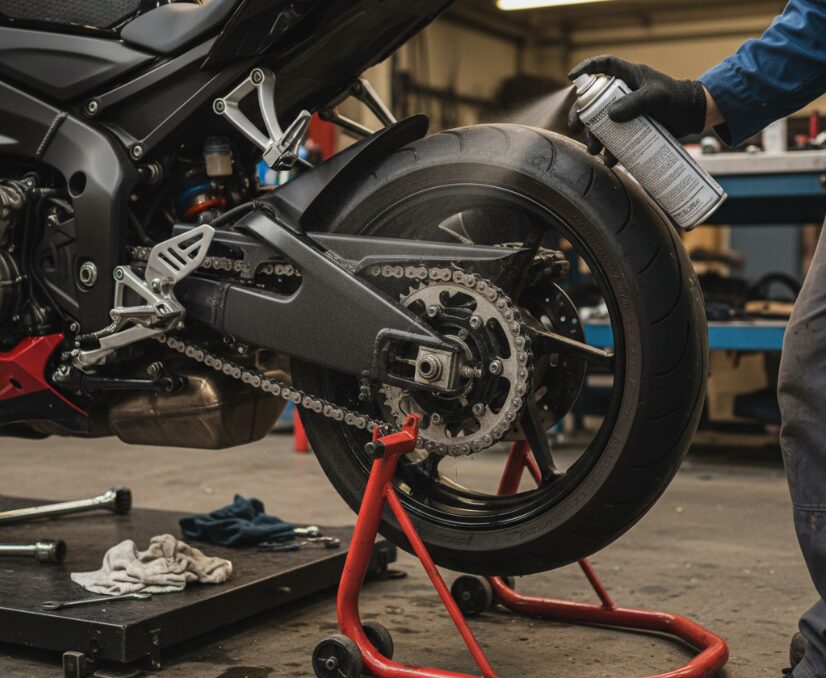
Put down the motorcycle, turn the rear wheel, and carefully check whether the chain runs smoothly, whether there is any abnormal noise, and whether there is any jam. After confirming that everything is normal, give the new chain a thorough lubrication. The new chain may only have a thin layer of anti-rust oil when it leaves the factory, and lubrication is necessary.
12. Road test:
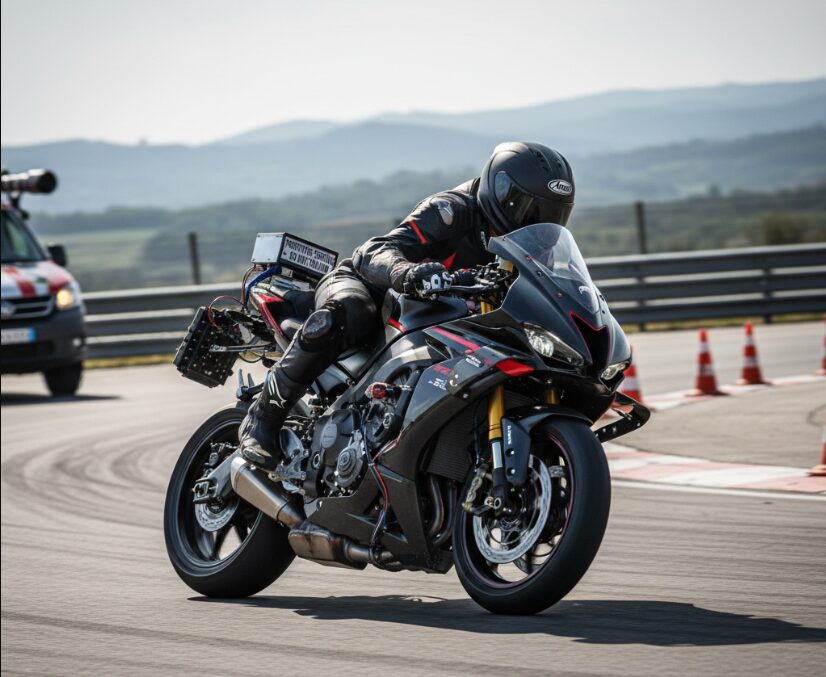
Find a section of road with fewer cars and fewer people and conduct a short, low-speed road test. Mainly feel whether there is any abnormal noise in the chain and whether there is any frustration when accelerating and decelerating. If there is any discomfort, stop and check immediately. I usually take a few slow turns in the yard before I hit the road.
Frequently Asked Questions
Q1: Can I use the old chainring with the new chain?
A: Definitely not recommended! This is one of the most frequently asked questions. Imagine that your old toothed disc has been worn for a long time, and the tooth shape is not perfect, even a little sharp. If you put a brand new chain on, these uneven old toothed discs will act like sandpaper, accelerating the wear of your new chain. My suggestion is that the chain and chainring must be replaced in one set to achieve the best performance and life. If you save the money of the toothed disc, you may have to pay a higher price in the end.
Q2: How to judge whether my chain needs to be replaced?
A: To judge whether the chain needs to be replaced, it mainly depends on two points. The first is signs of wear, such as poor movement between chain links, kinks in the chain, or obvious gaps between rollers and chain plates. Secondly, if your chain slack is too big to be solved by adjustment, or it becomes slack again soon after adjustment, it also means it’s time to retire. Of course, if you can directly pull up the chain and make it leave the top of the back gear plate more than half the tooth height, then there is no doubt, change it quickly!
Q3:Cost to Replace Motorcycle Chain? Does DIY really save money?
A: The cost of replacing the chain, if you go to a professional repair shop, will probably include the cost of the chain kit (chain, front and rear chainring) plus labor costs. This price varies by model and chain type, ranging from a few hundred to thousands. DIY seems to save a lot of time, but you really have to think about it. You need the right tools, such as chain cutters, riveting tools, and most importantly-correct installation knowledge and experience. Once the operation is improper, such as the riveting is not firm, the chain breaks during driving, the consequences are very serious, the light will break down, and the heavy will cause an accident. So, if you are not an experienced veteran, I personally prefer to leave it to a professional, after all, security is priceless.
Q4: What is the difference between different types of chains? How should I choose?
A: The mainstream chains on the market are mainly O-rings and X-rings.
O-ring chain: more common, in the chain between the O-shaped rubber sealing ring, used to lock the grease, to prevent dust and moisture. Its advantages are relatively low cost and good lubrication retention.
X-ring chain: Compared with O-rings, X-rings have better sealing effect, lower friction, higher transmission efficiency and longer life. But the price is also relatively expensive.
Conclusion
All in all, Motorcycle Chain Replacement is not only a simple replacement of parts, but also a key maintenance step to ensure ride safety and performance. Whether you choose DIY to replace it or leave it to a professional technician, understanding the principle of chain wear and mastering the correct installation process are required courses for every 1 knight. Remember, motorcycle chain care can not only extend the life of parts, but also keep your motorcycle in top condition. Don’t forget to take a few minutes to check your chain before you start your engine next time-that’s the first step to safety and passion.