
 Motomaxsfr
Search Product
How To Size A Motorcycle Chain
To determine the correct chain length for your motorcycle, you first need to nail down two critical specifications: pitch (which refers to the chain’s width and the distance between roller centers—common pitches include 520, 525, and 530) and length (the total number of links). For cyclists who like to replace their worn-out chains themselves and want the most precise result, I’ve always recommended the “side-by-side pin-matching” method.
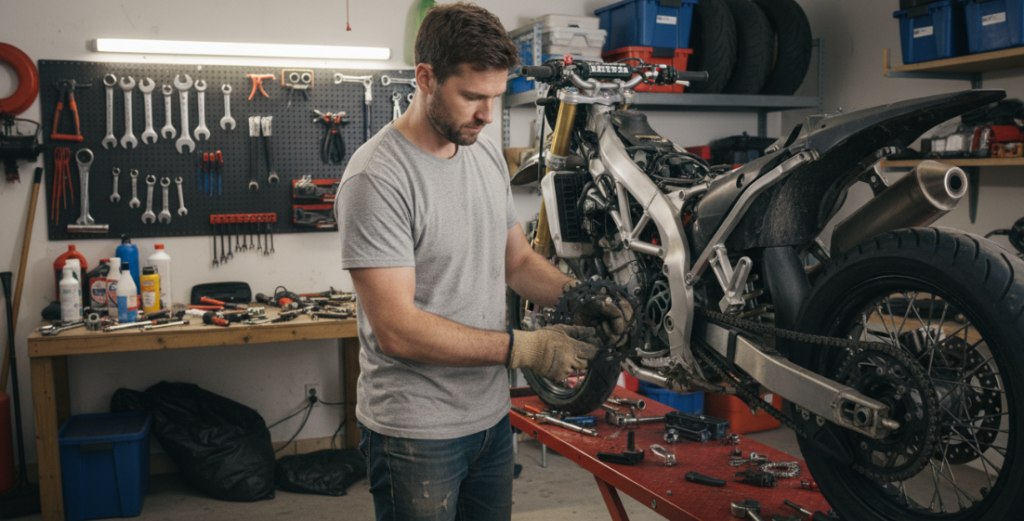
Before you start working, first consult the vehicle’s owner’s manual to confirm the pitch. Find a flat workbench and lay both the new and old chains out straight and evenly. Don’t even think about using a tape measure to check—it’s common knowledge that old chains stretch over time. Count the number of pins on the old chain, making sure to include the master link. Put the two chains side by side, count the exact same number of pins on the new chain, and mark the pin that needs to be knocked out. The upper chain cutter to the rivet out. Be sure to remember the iron rule of this line: measure twice and cut once. Because once the chain is cut short, it is impossible to ensure safety if you want to take it back.
Understand Two Deadly Specifications
Before cutting the new chain with a knife, the basic specifications must not be mistaken.
The Chain Pitch: This refers to the physical dimensions of the chain, specifically the width and the distance between the rollers. The most common pitches on motorcycle include 520, 525 and 530. If you’re not sure, always check the owner’s manual first.
Chain Length: This thing is never calculated in inches or centimeters. We only look at the total number of knots (or pins). The new chain you buy is usually longer than you actually need (such as the standard 120 section), leaving room for you to customize the interception according to the specific model.
Why Never Touch A Tape Measure
Make sure that the table is clean and flat, so that the old and new chains can lie completely straight and flat.
Many DIY riders often make a low-level mistake when learning to cut the chain-picking up a tape measure and measuring it. After tens of thousands of kilometers of road, the internal parts of the old chain have long been worn out, which will lead to the physical elongation of the whole chain. If you measure the physical length of the stretched old chain and then cut the new chain according to this length, your new chain will definitely grow several sections when installed, and it will be too loose to use at all.
“Side-By-Side Point Needling” Practical Operation
1. Number Of Pins Of Old Chain
After both chains lie flat and straighten, start at one end of the old chain and count the pins honestly the chain.
Details: Be sure to count the chain cuts into the total. The chain link is the connecting bridge of the whole chain. If it is missed when the total number is finally calculated, your data will be directly overturned mathematically, and the new chain cut out will definitely be short.
2. Align And Mark The New Chain
Once you have the exact pin count of the old chain, align the new chain next to it. Also from one end, count the corresponding numbers on the new chain.
When you reach the target number, don’t hesitate to take a marker pen or a pen with bright colors and draw a big mark on the pin (rivet) that needs to be removed. Leave a visual bottom line for yourself, which can prevent innocent rivets from flying when you start cutting later.
Using A Chain Breaker Tool
Once the target pin is locked, it’s time to actually cut off the excess length, and you need a professional chain cutter.
Clip the marked links into the base slot of the chain cutter. Be sure to repeatedly confirm that the center point of the thimble of the tool and the chain rivet are completely aligned in a straight line. Slowly turn the handle to fully push the rivet out of the side panel. The rivets fall off, the extra links will separate themselves, and a new chain of perfect size will be ready.
Measure Twice And Cut Once
Take two or three minutes to count the pins of the new and old chains again before putting on the tools. Once the rivet is pushed out and the chain link is broken, you can no longer safely add that link back. If I try to save trouble and use common tools to hard put back the cut chain links, it will seriously damage the structural strength of the chain. Running on the track or on the road is simply a great potential safety hazard. Check the number of pins, repeatedly confirm the margin of the chain buckle, and only when you are 100% sure that the length is correct, then cut it hard.
Author: Dave Collins
Hi, I’m a veteran motorcycle mechanic with years of hands-on experience both in the repair shop and at the track, I’ve seen it all—especially the dangerous mistakes DIY riders make when trying to save time. After logging tens of thousands of kilometers on the road, I know firsthand that motorcycle maintenance leaves no room for guesswork. I’m passionate about sharing the proper, tried-and-true techniques I use every day to help you maintain your bike safely and keep it performing at its peak.
The prev: Should A Motorcycle Chain Make A NoiseThe next: Can You Over Lube A Motorcycle Chain
Related recommendations
-

Should A Motorcycle Chain Make A Noise
29Is Your Motorcycle Chain Noise Normal? Learn To Tell Healthy Hums From Bad Rattles, Plus Simple Diy Garage Fixes.
View details -
Type Of Motorcycle Chain Explanation
309Explanation Of The Differences Between Standard, O-Ring, And X-Ring Motorcycle Chains.
View details -
What Size Sprocket Is Best For Top Speed
46Master Motorcycle Sprocket Tuning For Top Speed. Learn The Golden Rule And Balance Power Vs. Drag.
View details -
How To Maintain Your Motorcycle Chain
29Learn How To Properly Clean, Lubricate, And Adjust Your Motorcycle Chain For Maximum Safety And Extended Bike Lifespan.
View details


